The Main Foginator’s Lab Notebook
The main notebook that was collaborated on can be seen by clicking on this Link. This will show our plans for construction as well as our layout of various sensor data.
My Foginator Lab Notebook
My portion of the project consisted of programming a webpage to read and update pictures and values taken as well as helping to build the foginator and circuitry. This consisted of 3D-printing custom parts to our various needs or drilling holes to attach fans and sensors to various locations. The programming aspect consisted of creating a customized user interface. The code and techniques used to accomplish this task can be seen below:
Step 1: Data Collection
The first step in the process of building a user interface is the retrieval of the data. This is done through programming on the arduino which will read and right to the various I/O located within the Foginator. To read more about how this is done visit our *********page*********** and*******link it************
Step 2: Communicating the Data to the Server
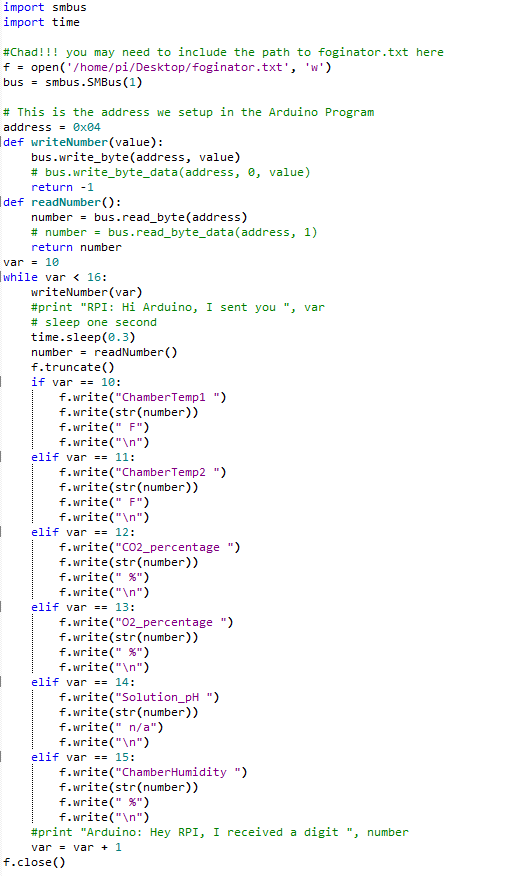
Once the data has been acquired the arduino will send the information over an I2C protocol to the raspberry pi server. The communication will be controlled through the following python file.
Step 3: Taking a Picture with the Raspberry Pi
The algorithms we wish to use will not only use the newly acquired data, but will also utilize photos taken from the raspberry pi. To take a continuous images with the raspberry pi one uses the following script.
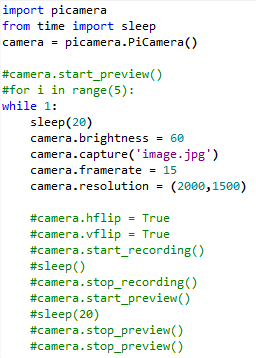
There are many additional variables that can change to help capture perfect images.
Step 5: Combining the Images into an html File
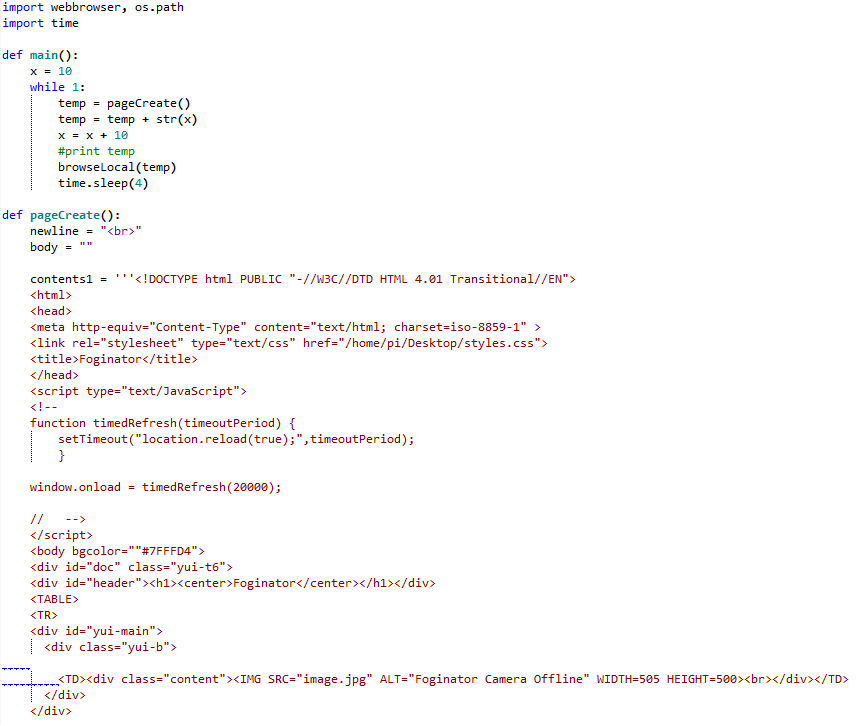
Raspberry pi’s can host simple servers with a single command. To utilize this to our advantage one can simply build a python script that will return the necessary html file updates the website every thirty seconds. The python script can be seen below:

Step 6: Viewing the Webpage:
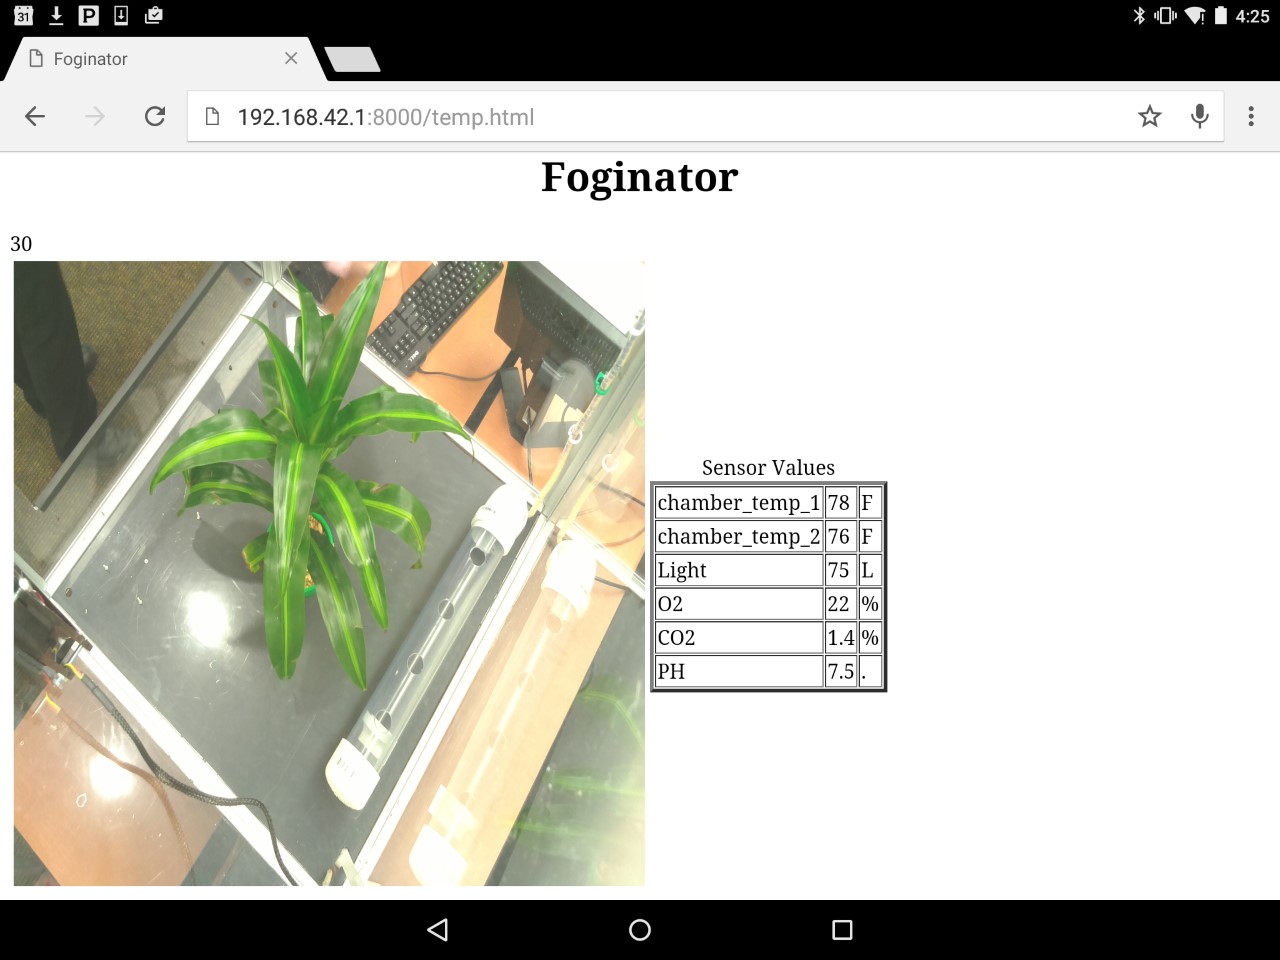
The files above come together to form a website that displays the image being received from the raspberry pi as well as the I/O from the arduino. an example image can be seen below:
Recent Comments